Tutorials • Webuzo
Creating a backup in the Webuzo admin panel
Learn how to create a backup in Webuzo with this simple tutorial. Discover the necessary steps to protect your website, database, and emails.
Views 1130Updated 20 zilePublished on 22/09/2020by Florin P.
⚠️ Note: This article contains outdated or no longer relevant information. Certain instructions, commands, or configurations may no longer work correctly. For updated solutions, check the recent documentation or contact the support team.
Introduction
- In this tutorial, we will show you how to create a backup in the Webuzo administration panel. The Webuzo backup section is only available in the premium version of the Webuzo administration panel and requires a monthly license payment.
Requirements
- Access to the Webuzo admin panel, username and password.
Steps
- After logging into the admin panel, we will go to the Server Utilities section, click on Webuzo backup.

- In the page that will open, we can generate a complete backup for our service with a single click. This will include the website, database, and emails.
- In the tabs below we can select Full backup, Home backup, Data backup, Mail backup, Schedule Backups, Backup Servers, and logs.
- Full backup - the backup includes the website, database, and emails.
- Home backup - will only include the directory /home/admin.
- Data backup - will include the database.
- Email backup - will only include files related to email accounts.
- Schedule Backups - the ability to create scheduled backups.
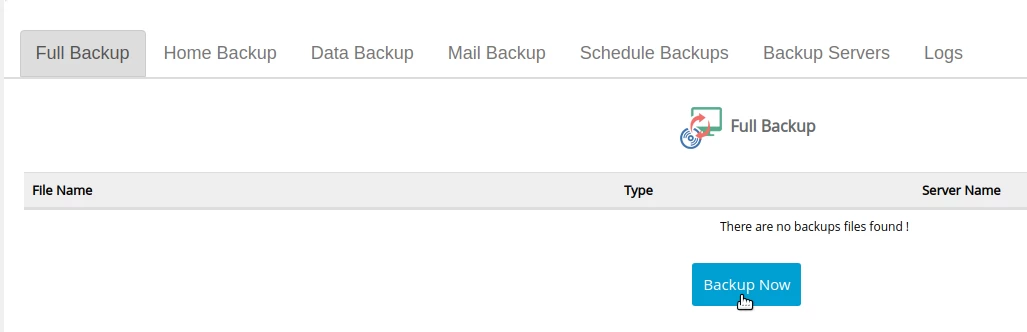
- To start the backup process click on Backup Now.
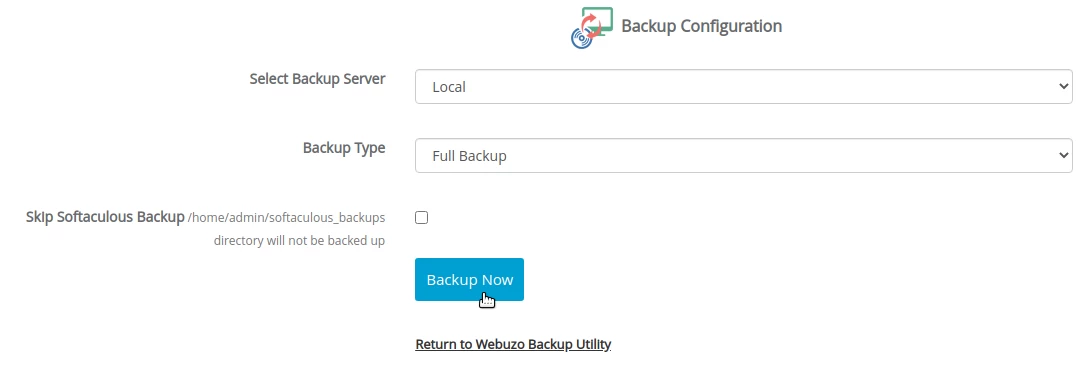
- In the logs section on the same page, the backup process can be monitored.

- Backup can be viewed in the list after its completion.

- Here we can delete, restore, and download the archive that contains the backup.